Embarking on home improvement projects can be a rewarding and cost-effective way to enhance your living space. DIY projects not only provide a sense of accomplishment but also allow you to tailor your home to your personal style and needs. This guide covers ten beginner-friendly DIY projects that can transform your home without requiring extensive experience or specialized tools.
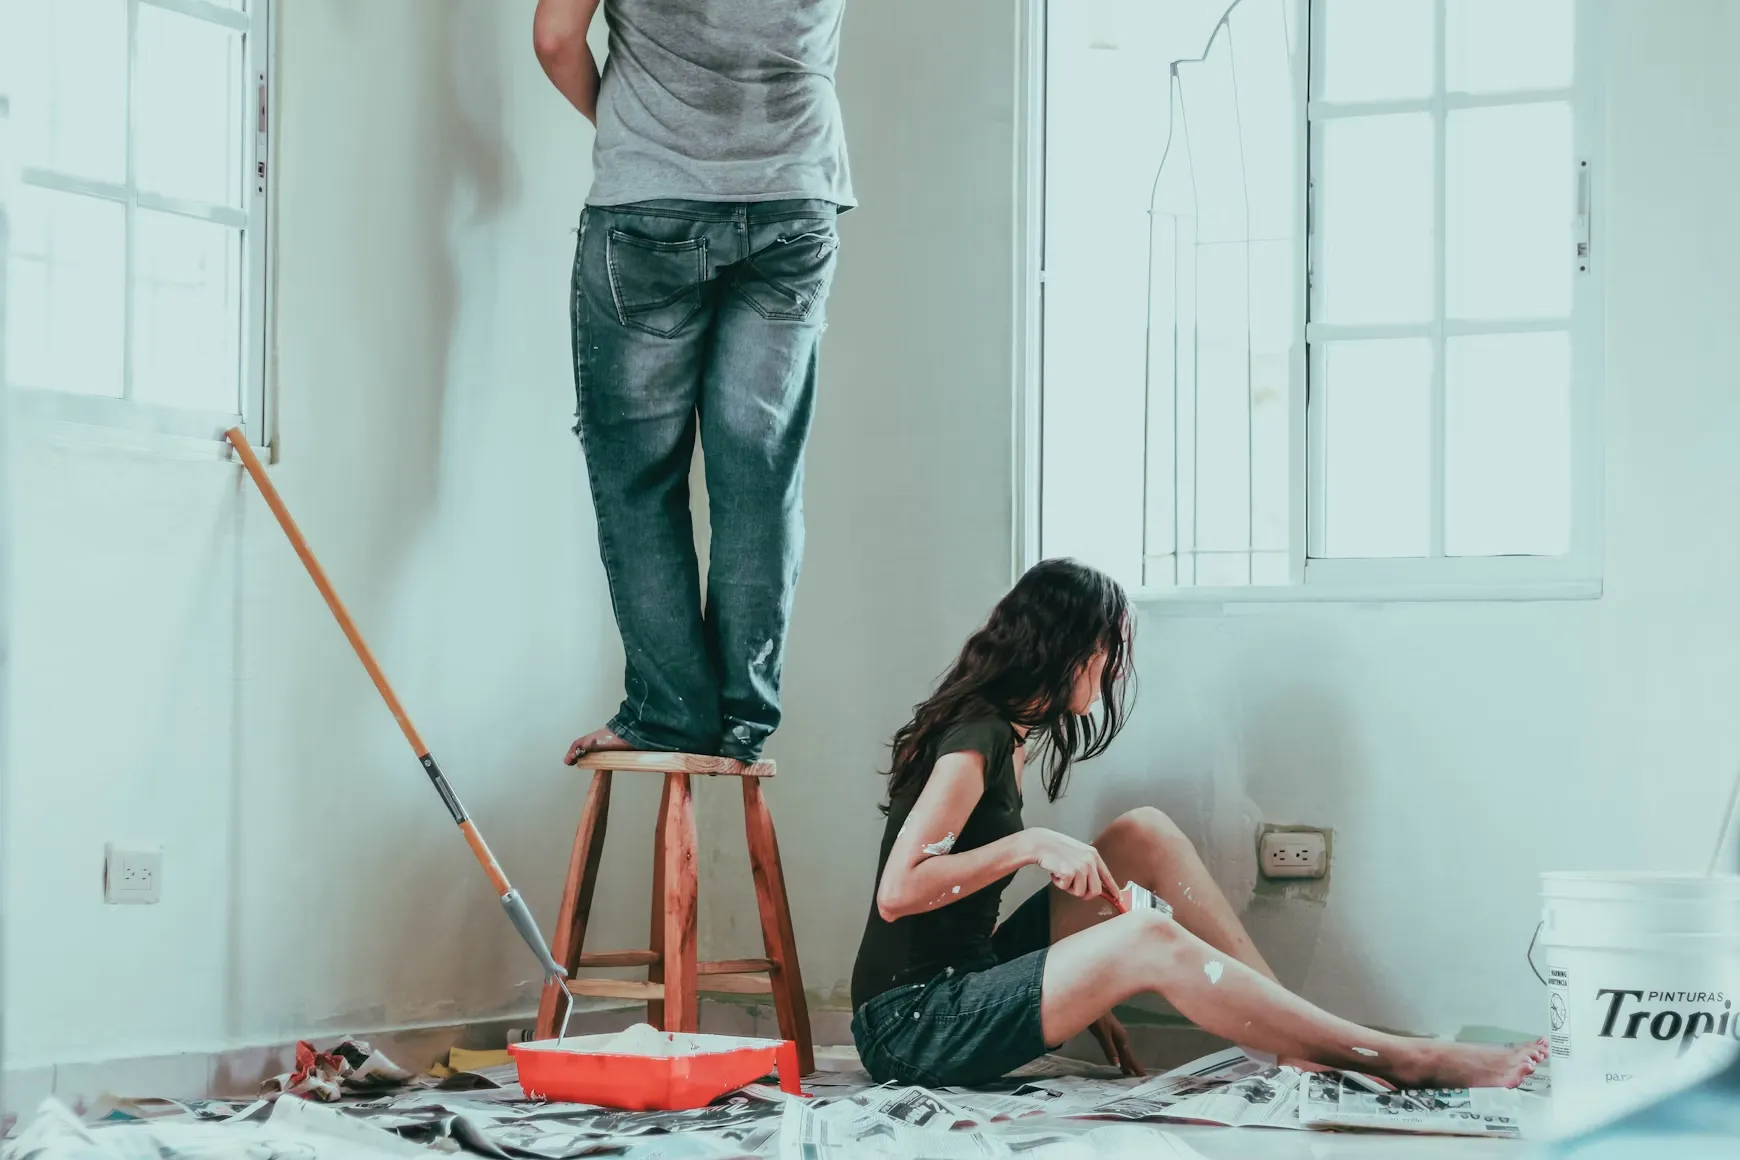
Painting Walls
Materials Needed
- Paint (choose your color)
- Primer
- Paint rollers and brushes
- Painter’s tape
- Drop cloths
Step-by-Step Instructions
- Prep the Area: Move furniture away from the walls and cover floors with drop cloths. Use painter’s tape to protect trim and edges.
- Apply Primer: Start with a coat of primer to ensure the paint adheres well and the color looks vibrant.
- Paint the Walls: Use a roller for large areas and brushes for edges and corners. Apply at least two coats for an even finish.
- Clean Up: Remove the painter’s tape while the paint is still slightly wet to avoid peeling. Let the paint dry completely.
Tips for a Professional Finish
- Use high-quality paint and tools.
- Work in small sections to maintain a wet edge and avoid streaks.
- Don’t rush the drying time between coats.
Installing a Backsplash
Types of Backsplashes
- Ceramic or porcelain tiles
- Glass tiles
- Peel-and-stick tiles
Tools Required
- Tile cutter
- Adhesive
- Grout and grout float
- Level
Installation Process
- Measure and Plan: Determine the area to be covered and plan the layout.
- Cut Tiles: Use a tile cutter to fit tiles around outlets and edges.
- Apply Adhesive: Spread adhesive on the wall with a notched trowel.
- Set Tiles: Press tiles into the adhesive, using spacers to maintain even gaps.
- Grout: After the adhesive dries, apply grout with a float and wipe off excess.
Replacing Light Fixtures
Safety Precautions
- Turn off the power at the circuit breaker.
- Use a voltage tester to ensure no electricity is flowing.
Types of Fixtures
- Ceiling lights
- Wall sconces
- Pendant lights
Step-by-Step Guide
- Remove Old Fixture: Unscrew the old fixture and disconnect wires.
- Prepare Wires: Strip the ends of the wires if needed.
- Connect New Fixture: Match wire colors (black to black, white to white, ground to ground) and secure with wire nuts.
- Attach Fixture: Screw the new fixture into place and restore power.
Building Shelves
Material Choices
- Solid wood
- Plywood
- MDF (medium-density fiberboard)
Measuring and Cutting
- Measure Space: Determine the shelf dimensions based on your space.
- Cut Wood: Use a saw to cut wood to size.
Assembly and Installation
- Assemble Shelves: Attach brackets or supports to the wood.
- Install on Wall: Use a level to ensure shelves are straight, and secure them to studs for stability.
Updating Hardware
Types of Hardware
- Knobs
- Handles
- Pulls
How to Remove Old Hardware
- Unscrew Old Hardware: Use a screwdriver to remove old knobs and handles.
- Fill Holes: Patch any holes if necessary.
Installing New Hardware
- Mark New Holes: Measure and mark where new hardware will go.
- Drill Holes: Drill pilot holes if needed.
- Attach New Hardware: Screw in new knobs or handles.
Landscaping Basics
Simple Gardening Tips
- Choose low-maintenance plants suitable for your climate.
- Group plants with similar water needs together.
Lawn Care
- Regularly mow and fertilize your lawn.
- Water deeply but infrequently.
Planting Flowers and Shrubs
- Plan Layout: Decide on a garden design.
- Prepare Soil: Add compost or fertilizer to soil.
- Plant: Dig holes for plants and place them, covering roots with soil.
Installing a Ceiling Fan
Choosing the Right Fan
- Consider the room size and ceiling height.
- Choose a fan with a reversible motor for seasonal use.
Installation Steps
- Mount Bracket: Secure the mounting bracket to the ceiling box.
- Assemble Fan: Follow manufacturer instructions to assemble the fan.
- Wiring: Connect wires, matching colors and securing with wire nuts.
- Attach Fan: Secure the fan to the mounting bracket and turn on power.
Caulking and Sealing
Importance of Caulking
- Prevents water damage and drafts.
- Improves energy efficiency.
Types of Caulk
- Silicone for bathrooms and kitchens.
- Acrylic latex for windows and doors.
Application Process
- Remove Old Caulk: Use a caulk remover tool or a utility knife.
- Clean Surface: Ensure the area is clean and dry.
- Apply Caulk: Cut the tip of the caulk tube at an angle, apply a steady bead of caulk, and smooth with a caulk smoothing tool or finger.
Installing New Faucets
Tools and Materials Needed
- New faucet
- Basin wrench
- Plumber’s tape
Removing Old Faucets
- Turn Off Water: Shut off the water supply valves.
- Disconnect Water Lines: Use a wrench to loosen nuts and remove old faucet.
Installing New Faucets
- Position New Faucet: Insert the faucet into the mounting holes.
- Secure Faucet: Tighten mounting nuts underneath the sink.
- Connect Water Lines: Attach water supply lines and turn on the water.
Creating a Feature Wall
Types of Feature Walls
- Painted accent walls
- Wallpaper
- Wood paneling
Planning the Design
- Choose a focal point wall.
- Select colors or materials that complement your decor.
Execution Steps
- Prepare Wall: Clean and prime the wall if painting.
- Apply Materials: Follow specific instructions for paint, wallpaper, or wood.
- Finish Edges: Ensure clean lines and seamless edges.
Final Words
These ten DIY home improvement projects provide a starting point for beginners to enhance their living spaces. Each project is designed to be manageable yet impactful, allowing you to build confidence and skills as you go. With the right materials, tools, and a little patience, you can transform your home into a more beautiful and functional place. Happy DIYing!