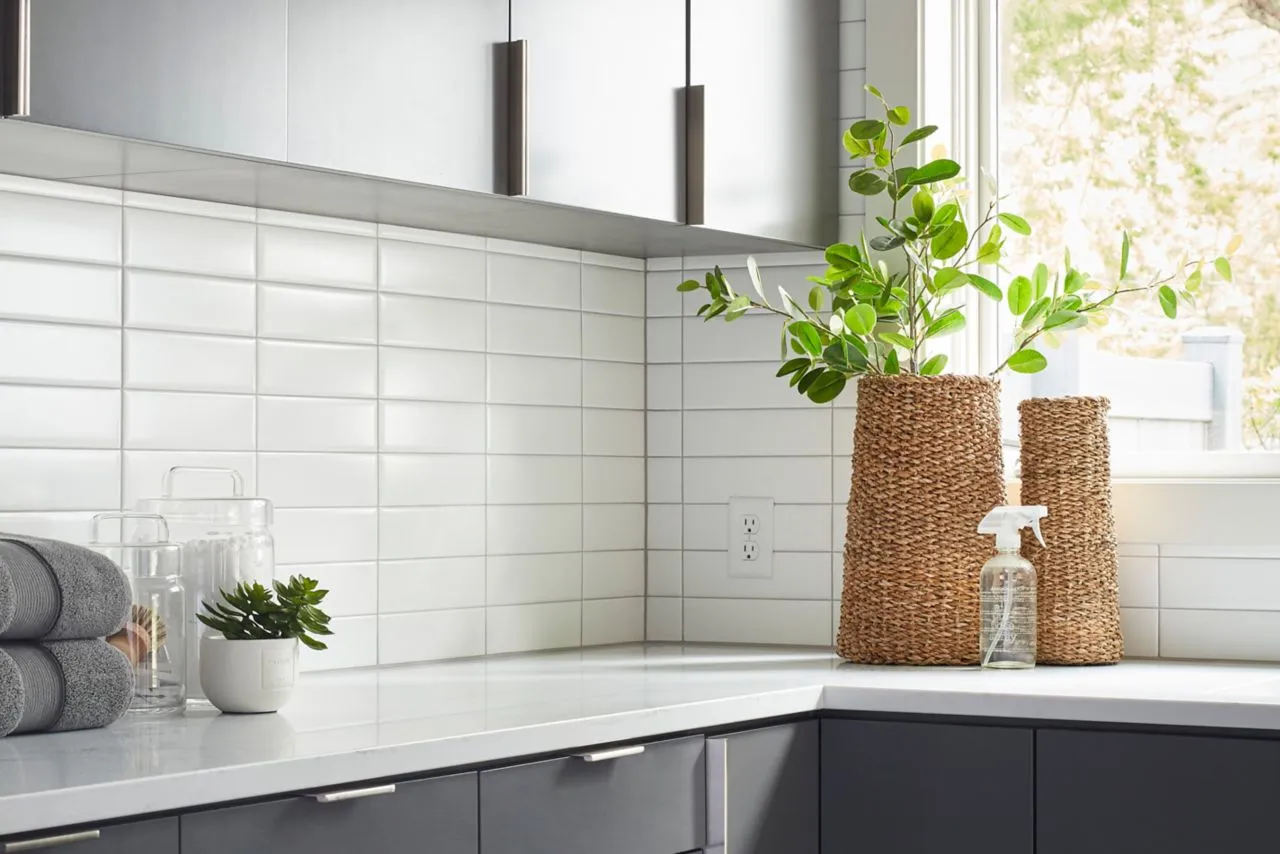
A kitchen backsplash is more than just a protective barrier against splashes and spills—it’s a design statement that can instantly uplift the aesthetics of your kitchen. Installing a new backsplash is a manageable DIY project that can dramatically enhance your kitchen’s look and feel. Follow this comprehensive step-by-step guide to transform your kitchen with a stunning new backsplash.
Preparation
Before diving into the installation, gather all necessary tools and materials. Here’s what you’ll need:
- Tools: Tape measure, level, tile cutter or wet saw, notched trowel, grout float, sponge, safety goggles, and gloves.
- Materials: Backsplash tiles, tile adhesive, grout, tile spacers, primer (if needed), and caulk.
Start by measuring the area where you’ll install the backsplash. Calculate the total square footage to determine how many tiles you’ll need, adding a little extra for waste and mistakes. Select a backsplash material that complements your kitchen’s style—whether it’s classic subway tiles, elegant glass tiles, or rustic stone.
Surface Preparation
A smooth, clean surface is crucial for a successful backsplash installation. Begin by thoroughly cleaning the wall to remove any grease, dust, or grime. Use a mild detergent or a degreasing cleaner for best results. Inspect the wall for any damage; repair holes or cracks with spackle and sand them smooth once dry. If the wall is painted or glossy, lightly sand it to ensure better adhesion of the tiles. Finally, apply a primer if recommended by the tile manufacturer.
Planning the Layout
Before applying any adhesive, plan your tile layout. Dry-fit the tiles on a flat surface to visualize the pattern and placement. Mark guidelines on the wall using a level and a pencil to ensure straight lines, particularly around the edges and where tiles meet countertops and cabinets. Remember to plan around any outlets or switches, and measure tiles that will need to be cut accordingly.
Cutting the Tiles
Measure the areas where tiles need to be cut to fit around edges, outlets, or other obstacles. Mark these measurements on the tiles and use a tile cutter or wet saw to make precise cuts. Always wear safety goggles and gloves while cutting tiles. Smooth the edges of cut tiles with a tile file or sandpaper to avoid rough or sharp edges.
Applying Adhesive
Choose an adhesive appropriate for your tile material. Using a notched trowel, spread the adhesive evenly on the wall, starting from the bottom and working your way up. Apply the adhesive in small sections to prevent it from drying out before you can place the tiles. The notches in the trowel help to create grooves for better adhesion.
Installing the Tiles
Press each tile firmly into the adhesive, twisting slightly to ensure good contact. Use tile spacers between each tile to maintain even gaps. This is crucial for a uniform appearance and for accommodating grout later. Periodically check that the tiles are level and make any necessary adjustments. Continue this process until all tiles are in place.
Grouting the Tiles
Once the adhesive has set (follow the manufacturer’s instructions for drying time), it’s time to grout the tiles. Mix the grout according to the instructions. Using a grout float, apply the grout diagonally across the tiles to fill the gaps. Wipe off excess grout with a damp sponge, rinsing it frequently. Allow the grout to cure as directed.
Finishing Touches
After the grout has fully cured, clean the tiles with a damp cloth to remove any grout haze. Apply a grout sealer if recommended, especially for areas prone to moisture. Finally, reinstall outlet covers and switch plates, and apply caulk along the edges where the backsplash meets countertops and cabinets for a finished look.
Final Words
By following these steps, you can successfully install a new kitchen backsplash that not only protects your walls but also enhances the overall look of your kitchen. Regular cleaning and maintenance will keep your backsplash looking fresh and vibrant. Enjoy the transformation and the satisfaction of a job well done!
FAQ’s
What tools and materials do I need to install a kitchen backsplash?
You’ll need a tape measure, level, tile cutter or wet saw, notched trowel, grout float, sponge, safety goggles, gloves, backsplash tiles, tile adhesive, grout, tile spacers, primer (if needed), and caulk.
How do I prepare the wall before installing a backsplash?
Clean the wall thoroughly to remove grease and dust, repair any damage with spackle, sand the surface if it’s glossy, and apply a primer if necessary.
How do I ensure my tiles are laid out evenly?
Dry-fit the tiles first to visualize the layout, use a level to mark guidelines on the wall, and place tile spacers between each tile to maintain even gaps.
What should I do if my tiles need to be cut?
Measure the area that needs a cut tile, mark the measurements on the tile, and use a tile cutter or wet saw to make precise cuts. Always wear safety goggles and gloves when cutting tiles.
How long should I wait before grouting the tiles?
Allow the tile adhesive to set according to the manufacturer’s instructions, usually 24 hours, before applying grout to the gaps between the tiles.
