If you’ve been dreaming of a kitchen upgrade that’s both functional and stylish, a custom kitchen island might be just what you need. In this guide, we’ll walk you through the exciting process of planning and building your very own custom kitchen island.
Assessing Your Needs and Space
First things first, let’s take a step back and think about what you really need from your kitchen island. Are you looking for extra storage, additional countertop space, or perhaps seating for casual dining? Take some time to measure your kitchen space and consider how the island will fit into your layout.
Designing Your Custom Kitchen Island
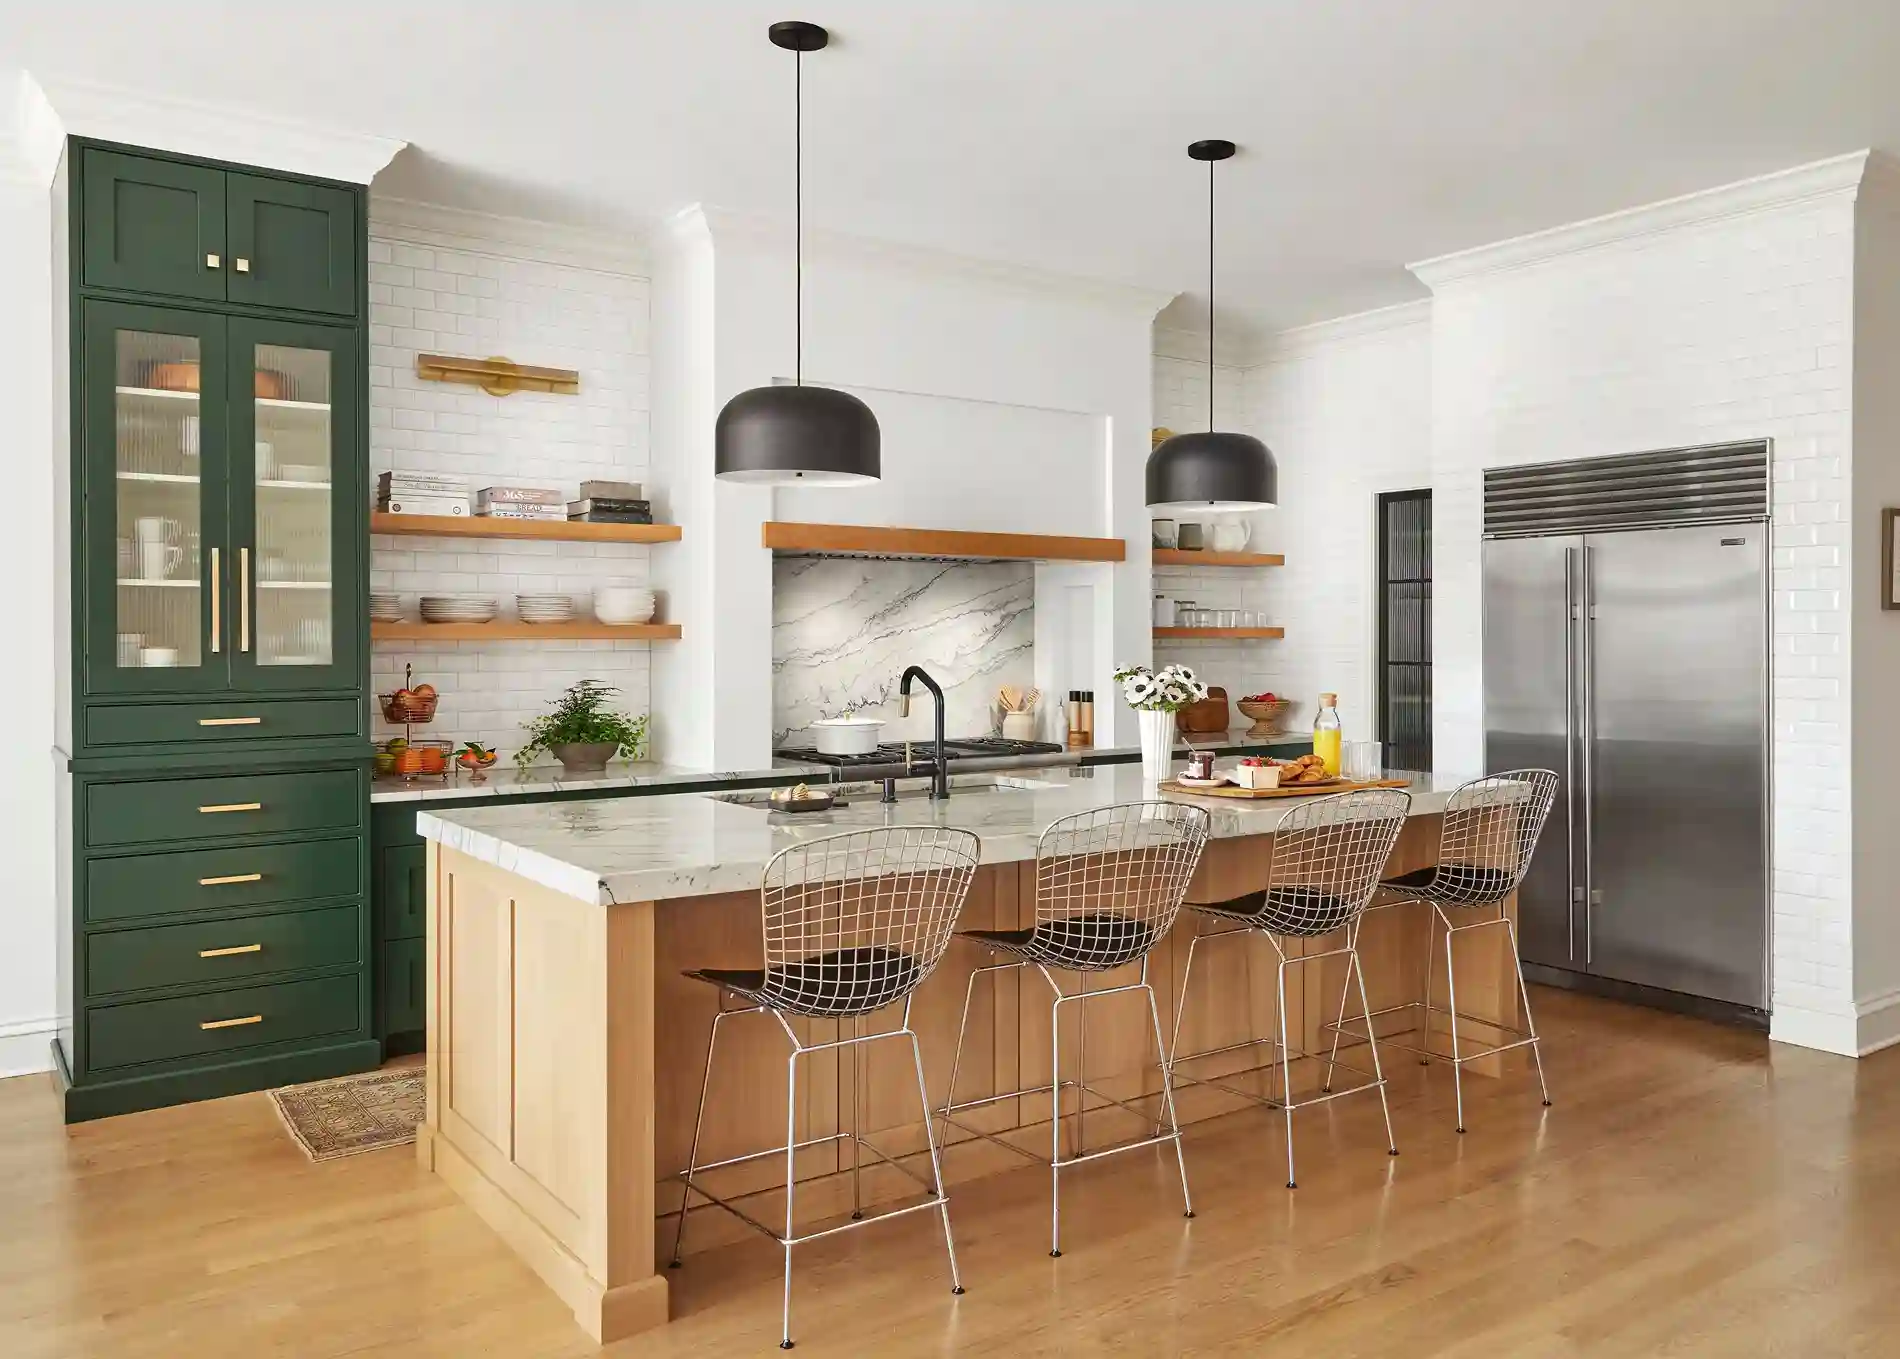
Now comes the fun part – designing your dream island! Think about the materials and style that best complement your kitchen decor. Do you prefer the sleek look of stainless steel, the warmth of wood, or the timeless elegance of marble? Don’t forget to consider features like built-in storage, seating options, and even appliances like a wine fridge or sink.
Creating a Detailed Plan
Once you have a clear vision of your custom kitchen island, it’s time to put pen to paper – or fingers to keyboard – and create a detailed plan. Sketch out your design, finalize dimensions and specifications, and make a materials list and budget to ensure everything stays on track.
Gathering Materials and Tools
With your plan in hand, it’s time to gather all the materials and tools you’ll need for the build. Choose high-quality materials that will stand up to the rigors of everyday use, and make sure you have the right tools and equipment for the job.
Building the Island Frame
Now it’s time to roll up your sleeves and get building! Start by constructing the base frame of your island using sturdy lumber or pre-made cabinetry. If you’re incorporating plumbing or electrical components, be sure to install them at this stage.
Adding Countertops and Surfaces
With the frame in place, it’s time to add the finishing touches. Choose a countertop material that suits your style and budget, whether it’s granite, quartz, butcher block, or something else entirely. Install the countertops and any additional surfacing materials, and don’t forget to seal and finish them for durability.
Installing Storage and Accessories
Next up, it’s time to add the practical elements that will make your island truly functional. Install cabinets, drawers, and shelves for storage, and don’t forget to add hardware like drawer pulls and cabinet handles. Consider incorporating accessories like wine racks or spice organizers to make the most of your space.
Finishing Touches and Decor
With the hard work behind you, it’s time to add the finishing touches that will bring your custom kitchen island to life. Paint or stain the island to match your kitchen decor, add decorative elements like trim or molding, and style the island with accessories and functional decor that reflect your personal taste.
Final Inspection and Testing
Last but not least, it’s time for the moment of truth – the final inspection and testing phase. Check for proper installation and functionality, and make any necessary adjustments or repairs to ensure your island is ready for action.
Final Words
Congratulations, you’ve successfully planned and built your very own custom kitchen island! We hope this guide has inspired you to unleash your creativity and enjoy the benefits of your new island for years to come.
FAQ’s
How do I determine the size and layout of my custom kitchen island?
Assess your kitchen space and consider factors like the available floor area, traffic flow, and existing cabinetry layout. Sketch out different designs to visualize how the island will fit into your kitchen and meet your needs.
What materials are best for building a custom kitchen island?
The best materials for a custom kitchen island depend on your style preferences, budget, and functional requirements. Popular options include hardwoods like maple or cherry for a classic look, or stainless steel for a modern aesthetic. Consider durability, maintenance, and how well the material complements your existing kitchen decor.
Do I need to hire a professional to build my custom kitchen island?
While hiring a professional can ensure a high-quality build, many homeowners opt to tackle the project themselves as a DIY endeavor. With careful planning, the right tools, and some basic carpentry skills, building a custom kitchen island can be a rewarding project.
What features can I incorporate into my custom kitchen island?
The features you incorporate into your custom kitchen island depend on your specific needs and preferences. Common features include built-in storage such as cabinets, drawers, or open shelves, as well as additional countertop space for food preparation or seating for casual dining.
How long does it take to build a custom kitchen island?
The time it takes to build a custom kitchen island varies depending on factors like the complexity of the design, the availability of materials, and your level of experience with woodworking. On average, it can take anywhere from a few days to a couple of weeks to complete the project from start to finish.