A fresh coat of paint can transform a room, bringing new life and energy into your home. Whether you’re looking to modernize your living space, add a splash of color, or simply refresh your walls, painting is a cost-effective and impactful home improvement project. This comprehensive guide will walk you through the process, covering everything from choosing the right paint to mastering painting techniques and tools. Let’s dive in and get your home looking its best!
Choosing the Right Paint
Selecting the appropriate paint is the first step toward a successful project. Paints come in various types and finishes, each suited for different surfaces and effects.
- Types of Paint: Latex (water-based) paints are popular for their easy cleanup and quick drying time, making them ideal for most interior walls. Oil-based paints, though harder to clean, provide a durable finish and are excellent for trim and high-traffic areas.
- Finishes: The finish you choose affects both the look and durability of the paint. Matte finishes hide imperfections well but are less washable. Satin and eggshell finishes offer a balance of durability and sheen, making them great for living areas and bedrooms. Semi-gloss and gloss finishes are highly durable and easy to clean, perfect for kitchens and bathrooms.
- Color Selection: Picking the right color can be daunting. Consider the room’s purpose, natural light, and existing furniture. Light colors can make a space feel larger, while bold colors add character and warmth. Test samples on your walls to see how they look at different times of the day.
- Eco-Friendly Options: Low-VOC (volatile organic compounds) and zero-VOC paints are environmentally friendly choices that reduce indoor air pollution and are safer for your health.
Essential Tools and Materials
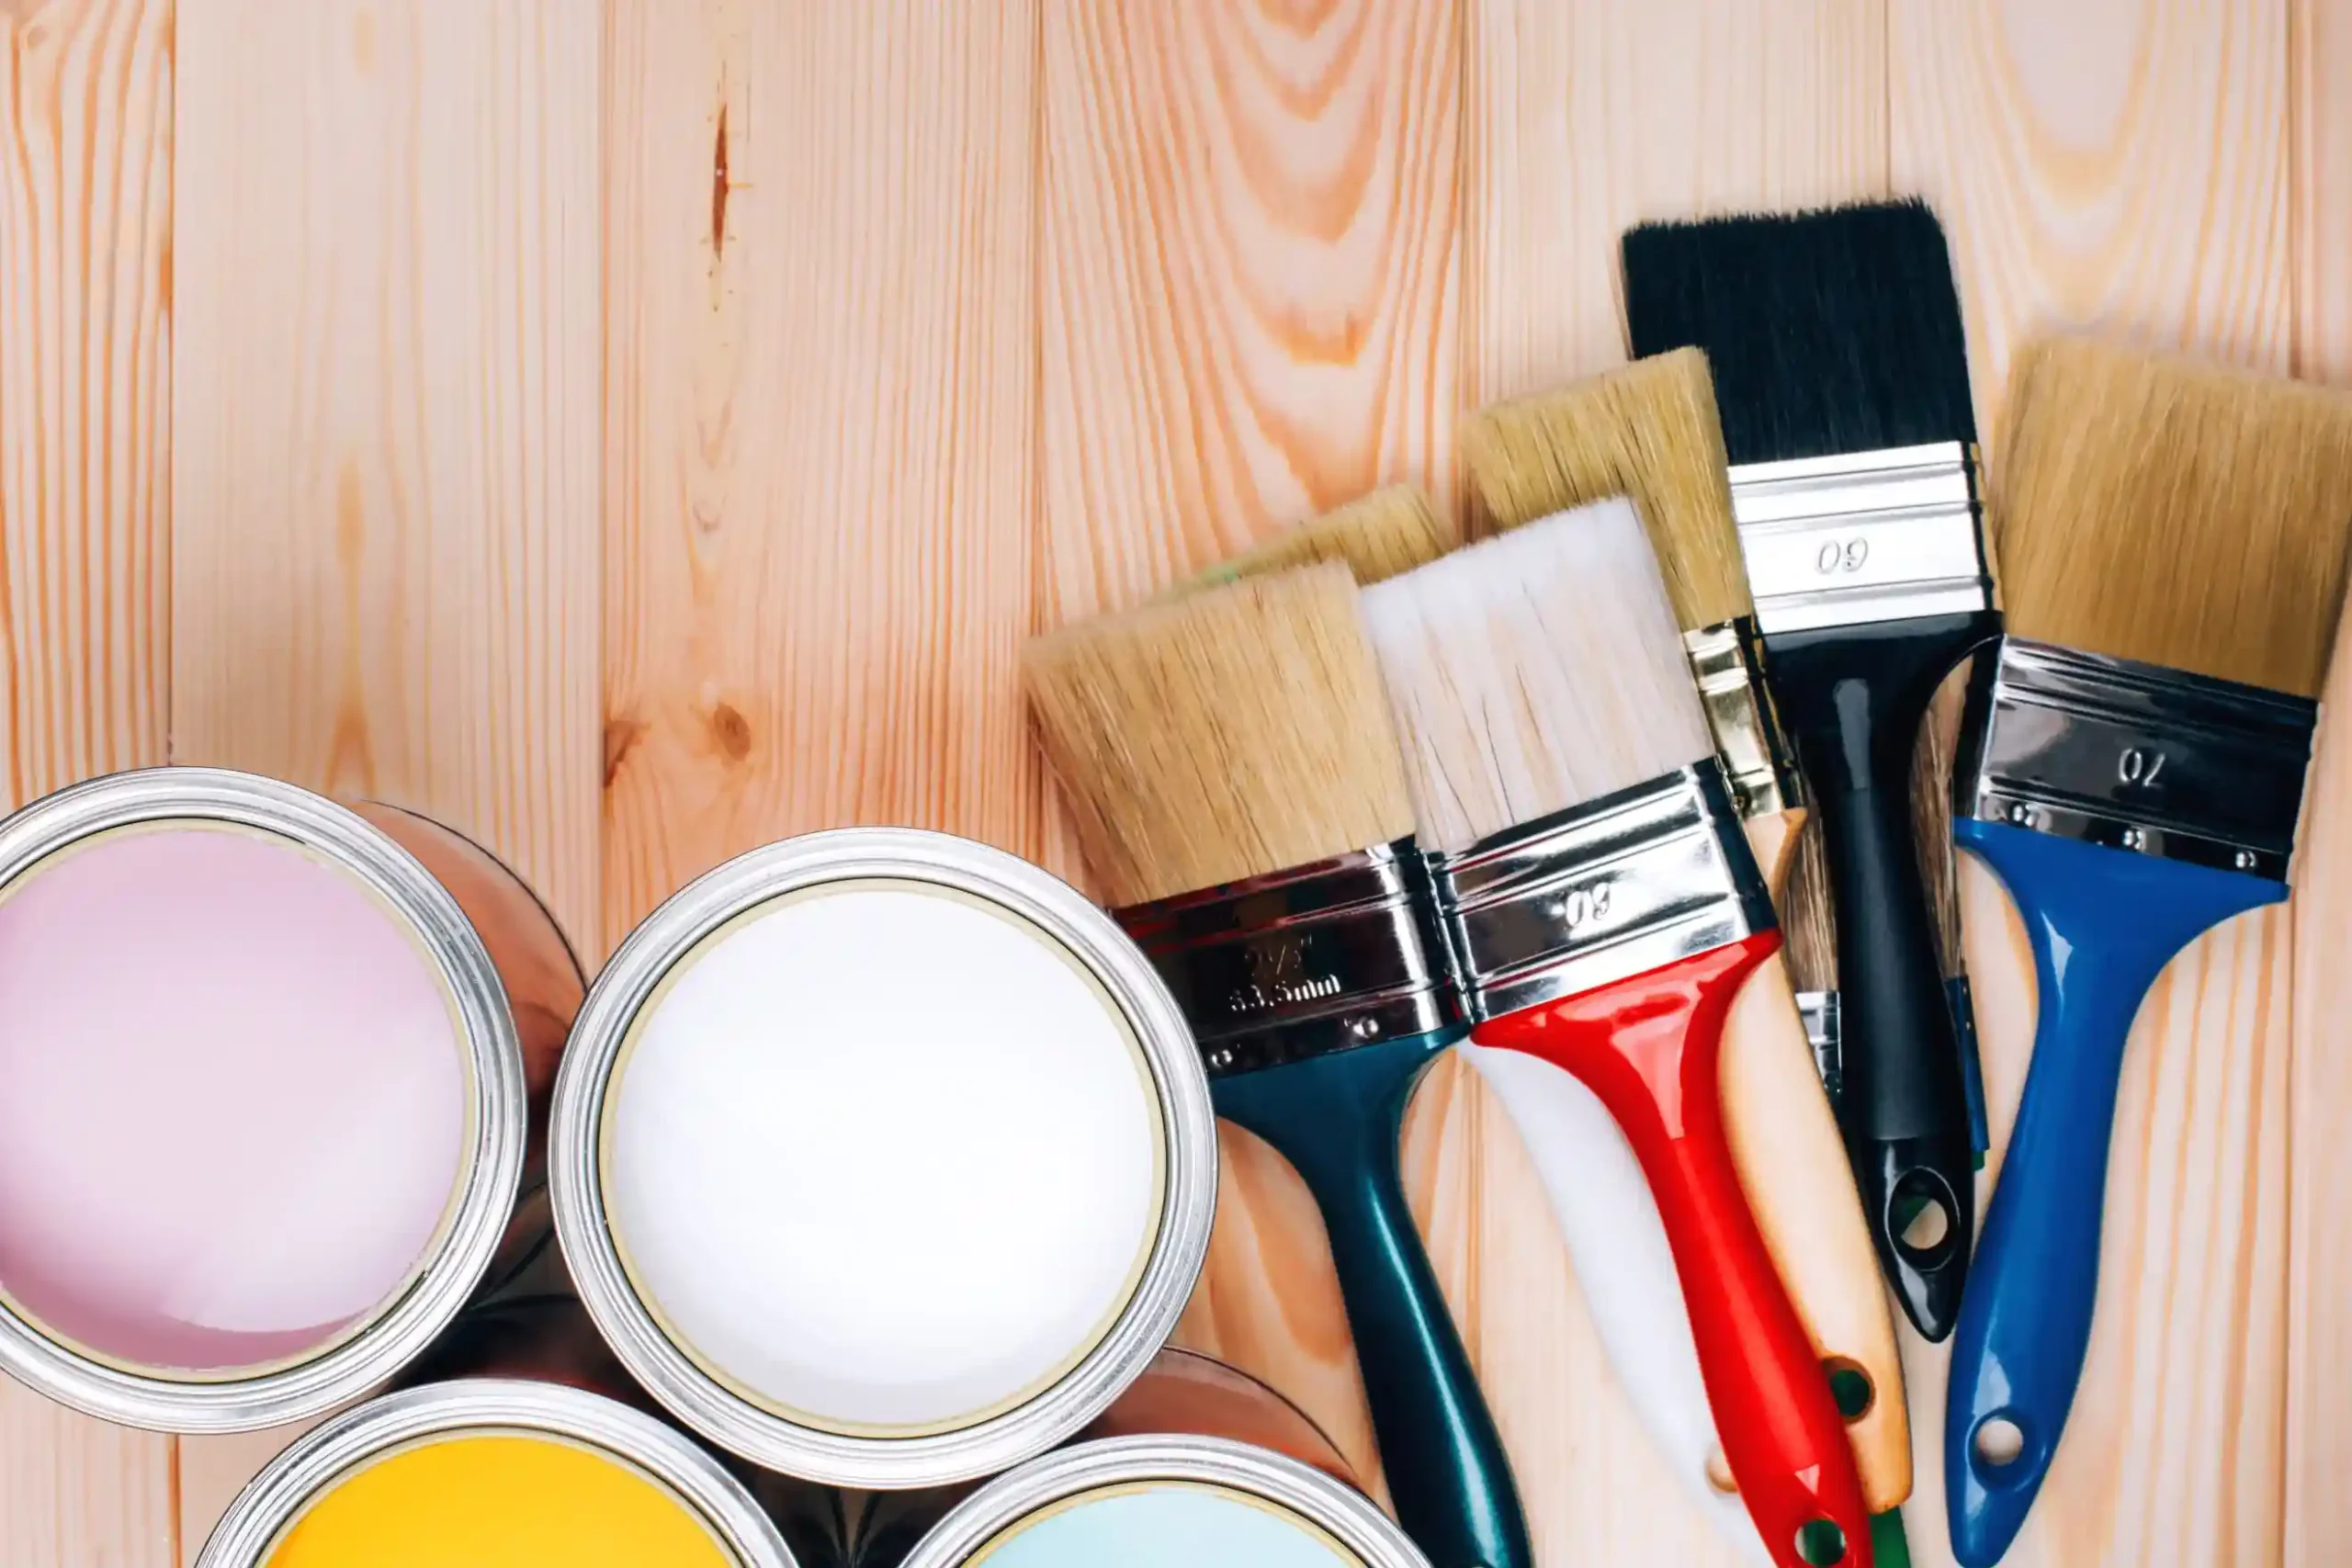
Having the right tools is crucial for a smooth painting process. Here’s what you’ll need:
- Brushes and Rollers: Quality brushes and rollers make a big difference. Use synthetic bristles for latex paint and natural bristles for oil-based paint. Rollers with different nap lengths are suitable for various textures; short naps for smooth surfaces and longer naps for textured walls.
- Paint Trays and Liners: These keep your paint contained and accessible. Liners make cleanup easier.
- Painter’s Tape and Drop Cloths: Protect trim, fixtures, and floors. Painter’s tape ensures clean edges, and drop cloths shield your furniture and floors from splatters.
- Sandpaper and Scrapers: These are essential for surface preparation, helping to smooth walls and remove old paint or wallpaper residue.
- Primer and Sealants: Primer prepares the surface for paint, ensuring better adhesion and a more vibrant finish. Sealants are necessary for sealing gaps and cracks.
Preparing Your Space
Proper preparation is key to a professional finish.
- Move and Cover Furniture: Shift furniture to the center of the room and cover it with drop cloths. Remove or cover fixtures and hardware.
- Clean and Repair Walls: Dust and clean the walls to ensure the paint adheres properly. Patch any holes or cracks with spackle and sand the surfaces smooth.
- Tape and Protect Trim and Fixtures: Use painter’s tape to protect trim, windows, and outlets. Ensure the tape is pressed down firmly to prevent paint bleed.
- Sand and Prime Surfaces: Lightly sand the walls to create a smooth surface. Apply primer to ensure better paint adhesion and coverage, especially on new drywall or stained surfaces.
Painting Techniques
Mastering the right techniques will give your walls a flawless finish.
- Cutting in Edges: Start by “cutting in,” which means painting the edges of the walls and around trim with a brush. This creates a border that the roller can blend into.
- Rolling on Paint: Use a roller for large areas. Load the roller with paint and roll it in a “W” or “M” pattern to evenly distribute the paint. Avoid overloading the roller to prevent drips and streaks.
- Techniques for Different Surfaces: For walls, use smooth, even strokes with the roller. For ceilings, consider an extension pole for easier reach. When painting trim, use a steady hand and a high-quality brush for clean lines.
- Managing Drips and Streaks: Work in small sections and maintain a wet edge to avoid lap marks. If you notice drips, smooth them out immediately with a brush or roller.
Specialized Painting Projects
Beyond basic wall painting, there are several creative projects to enhance your home.
- Accent Walls: Choose a bold color or pattern for a single wall to create a focal point in the room.
- Textured Finishes: Techniques like sponging, rag rolling, or using textured paint can add depth and interest to your walls.
- Stenciling and Patterns: Use stencils or painter’s tape to create geometric patterns or intricate designs for a unique touch.
- Painting Cabinets and Furniture: Refresh old furniture and cabinets with a new coat of paint. Sand the surfaces thoroughly, apply a primer, and use a durable paint finish.
Safety Tips
Safety should always be a priority during any DIY project.
- Ventilation and Protective Gear: Ensure good ventilation by opening windows and using fans. Wear a mask, gloves, and safety glasses to protect yourself from fumes and splatters.
- Handling Paint and Solvents Safely: Follow manufacturer instructions for using and storing paints and solvents. Keep them out of reach of children and pets.
- Ladder Safety: Use a sturdy ladder and follow safety guidelines. Don’t overreach—move the ladder as needed to maintain balance.
Troubleshooting Common Problems
Even with careful planning, issues can arise. Here’s how to handle some common problems:
- Uneven Coverage: If the paint looks patchy, apply an additional coat. Ensure you’re using the right amount of paint and maintaining a wet edge.
- Peeling or Cracking Paint: This often results from poor surface preparation. Sand the area, apply a primer, and repaint.
- Color Inconsistencies: Mix all paint cans together in a larger container (boxing) to ensure color consistency. If you notice variations, repaint the affected area.
Clean-Up and Maintenance
Proper clean-up extends the life of your tools and keeps your space tidy.
- Cleaning Brushes and Rollers: Rinse brushes and rollers thoroughly with water (for latex paint) or mineral spirits (for oil-based paint). Store them properly to maintain their shape.
- Storing Leftover Paint: Seal paint cans tightly and store them in a cool, dry place. Label them for future touch-ups.
- Maintaining Painted Surfaces: Clean walls periodically with a damp cloth to remove dust and dirt. Address any chips or scratches promptly with touch-up paint.
- Touch-Up Tips: Keep a small amount of leftover paint for touch-ups. Use the same application method (brush or roller) for a seamless blend.
Final Words
Painting your home is a rewarding project that can significantly enhance its appearance and value. By choosing the right paint, using the proper tools, and following these techniques, you can achieve professional-looking results. Whether you’re refreshing a single room or tackling a larger project, this guide provides the knowledge and confidence to get started.
FAQ’s
What type of paint should I use for interior walls?
Latex (water-based) paint is ideal for interior walls due to its easy cleanup, quick drying time, and durability.
How do I choose the right finish for my paint?
Choose a finish based on durability and sheen: matte for hiding imperfections, satin or eggshell for living areas, and semi-gloss or gloss for kitchens and bathrooms.
What essential tools do I need for painting?
Essential tools include brushes, rollers, paint trays, painter’s tape, drop cloths, sandpaper, scrapers, primer, and sealants.
How should I prepare my walls before painting?
Clean and repair the walls, move and cover furniture, tape and protect trim, and apply primer to ensure a smooth and even finish.
How can I avoid common painting problems like drips and uneven coverage?
Use the right amount of paint, maintain a wet edge while rolling, work in small sections, and smooth out any drips immediately with a brush or roller.